Thursday 30 August 2012

Daffodil Day

An excellent cause....

Daffodil Day is the cancer society's most important fundraising and awareness campaign. I love daffodil day as it always reminds me of spring and the daffodils smell so beautiful.

You can donate to the cancer society by clicking here: Daffodil Day

I found these cute little daffodils in my mums garden, aren't they sweet!


I've  been busily preparing for my nephews birthday party this weekend which I'm helping to create so I haven't had time to do extra baking this week.  But that hasn't stopped me getting some beautiful spring inspiration from others.

I found these two yummy recipes from the lovely raspberricupcakes  website.

Lemon lime and bitters Macaroon shells sandwiched with a bitters buttercream... don't they sound delightful!


I couldn't go past these gorgeous cupcakes without sharing...


The cupcakes are lemon and poppy seed, the website takes you through the recipe and how to decorate. So cute!!

I love the look of this yummy dessert from Butter cream its a white genoise cake layered with fresh lemon curd and lemon infused mousse.  Sounds delicious, and the picture is so pretty.


I hope you all enjoy these early spring inspirations... and don't forget to donate to the cancer society for daffodil day :-)


Thursday 23 August 2012

Red Nose Day

Happy Red Nose day New Zealand!!

Red Nose Day is a national fundraising campaign that raises money for Cure Kids.  Red Nose Day has been around for over decades, I remember it as a kid and getting involved in fun activities at school.  It encourages everyone to be silly and have a laugh for a serious cause.

I thought it would be fun for my kids to get involved in a bit of baking for Red Nose day, and this what we came up with... cupcakes and red velvet mini cheesecakes.


Recipes:

The cupcakes are vanilla cupcakes that I sourced from the lovely Vanilla Cupcakes.  I chose a different icing this time, I used Annabel Langbein's recipe:

120g butter
200g cream cheese
2 tbsp blackcurrant cordial
1 tsp vanilla extract
Red food colouring
5 cups icing sugar
And of course, Jaffas for decoration

Beat together the butter and cream cheese (at room temperature), then beat together with blackcurrant cordial, vanilla and  cordial  until creamy smooth.  Add icing sugar and beat until smooth.  Chill for 10 minutes and then put into a piping bag to pipe onto cooled cupcakes.

For the mini red velvet cheesecakes:

I got this recipe from: Tasty Retreat

I must say, when I got to this part, I got a little bit worried that my kids were still helping!! Aprons please!!


Wednesday 22 August 2012

A healthy cheesecake!

Who's ready for a healthy cheesecake??


We've all heard that eating raw food is better for you... right?  If you're thinking of going "raw" here are few reasons why raw food is beneficial for your body:

1. Heating food destroys much of the nutrients and enzymes in your food.
2. You feel more energised and sleep better...and also wake up with energy!
3. It helps to give you mental clarity
3. There's less mess to clean up! that's always a bonus
4.  The increased fibre will keep you more regular
5. You get a get a good feeling of satisfaction when you eat food from the earth, especially if you've grown it yourself.

For more detailed reasons to eat raw food look up: Eat Raw

Here is the recipe for the healthy raw blueberry cheesecake


Links:
10 reasons to eat raw - zen habits
Recipe and photo: Blueberry cheesecake - raw guru


Thursday 16 August 2012

Cheesecake!! Obsessed Much??

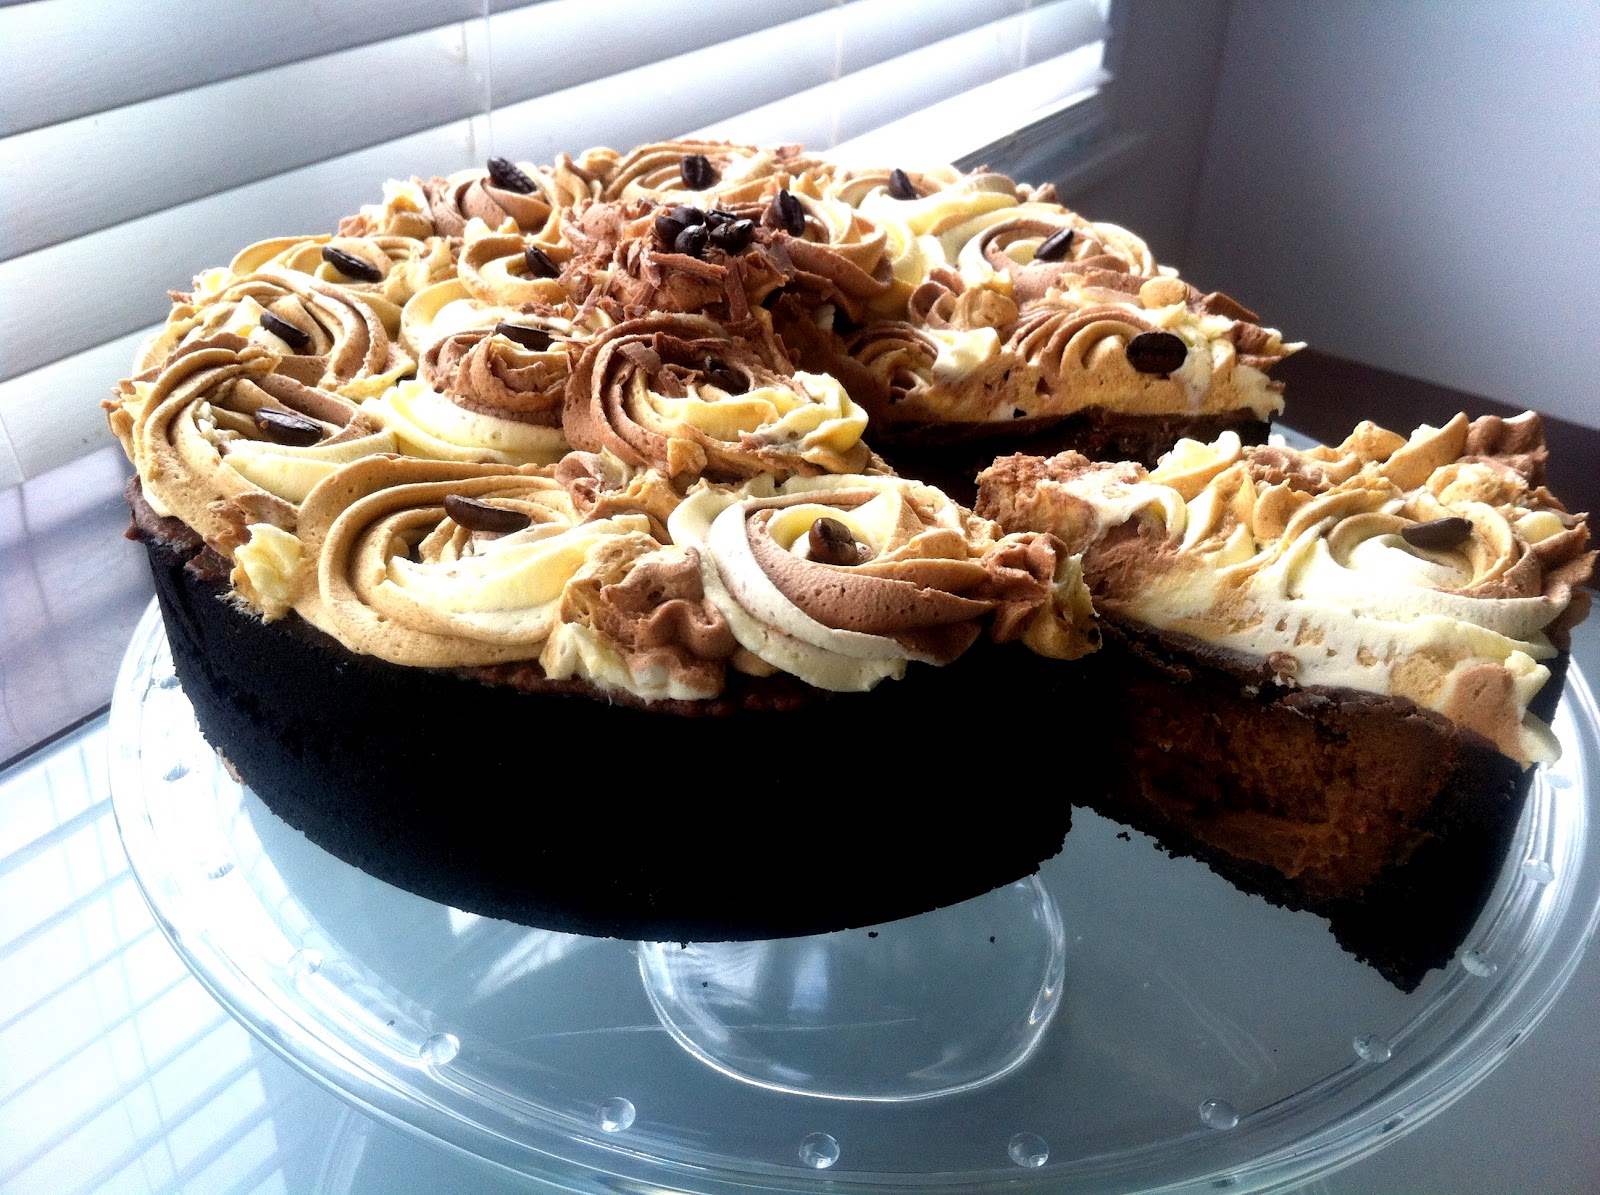
Wow! The Cheesecake of all cheesecakes!!


Delectable, delicious, divine, delightful... are just a few words I would use to describe this cheesecake!! I had so much fun preparing, making, and decorating this gorgeous Mocha Chocolate Cheesecake... I've added some step-by-step photos and the recipe below.


I have also shared the Multi-swirl cupcake icing from Good Life Eats which is a really cool idea if you want different colours and/or flavours in your frosting.

Mocha Chocolate Cheesecake.

Firstly make the base with crushed Oreos... YUMMMM!!


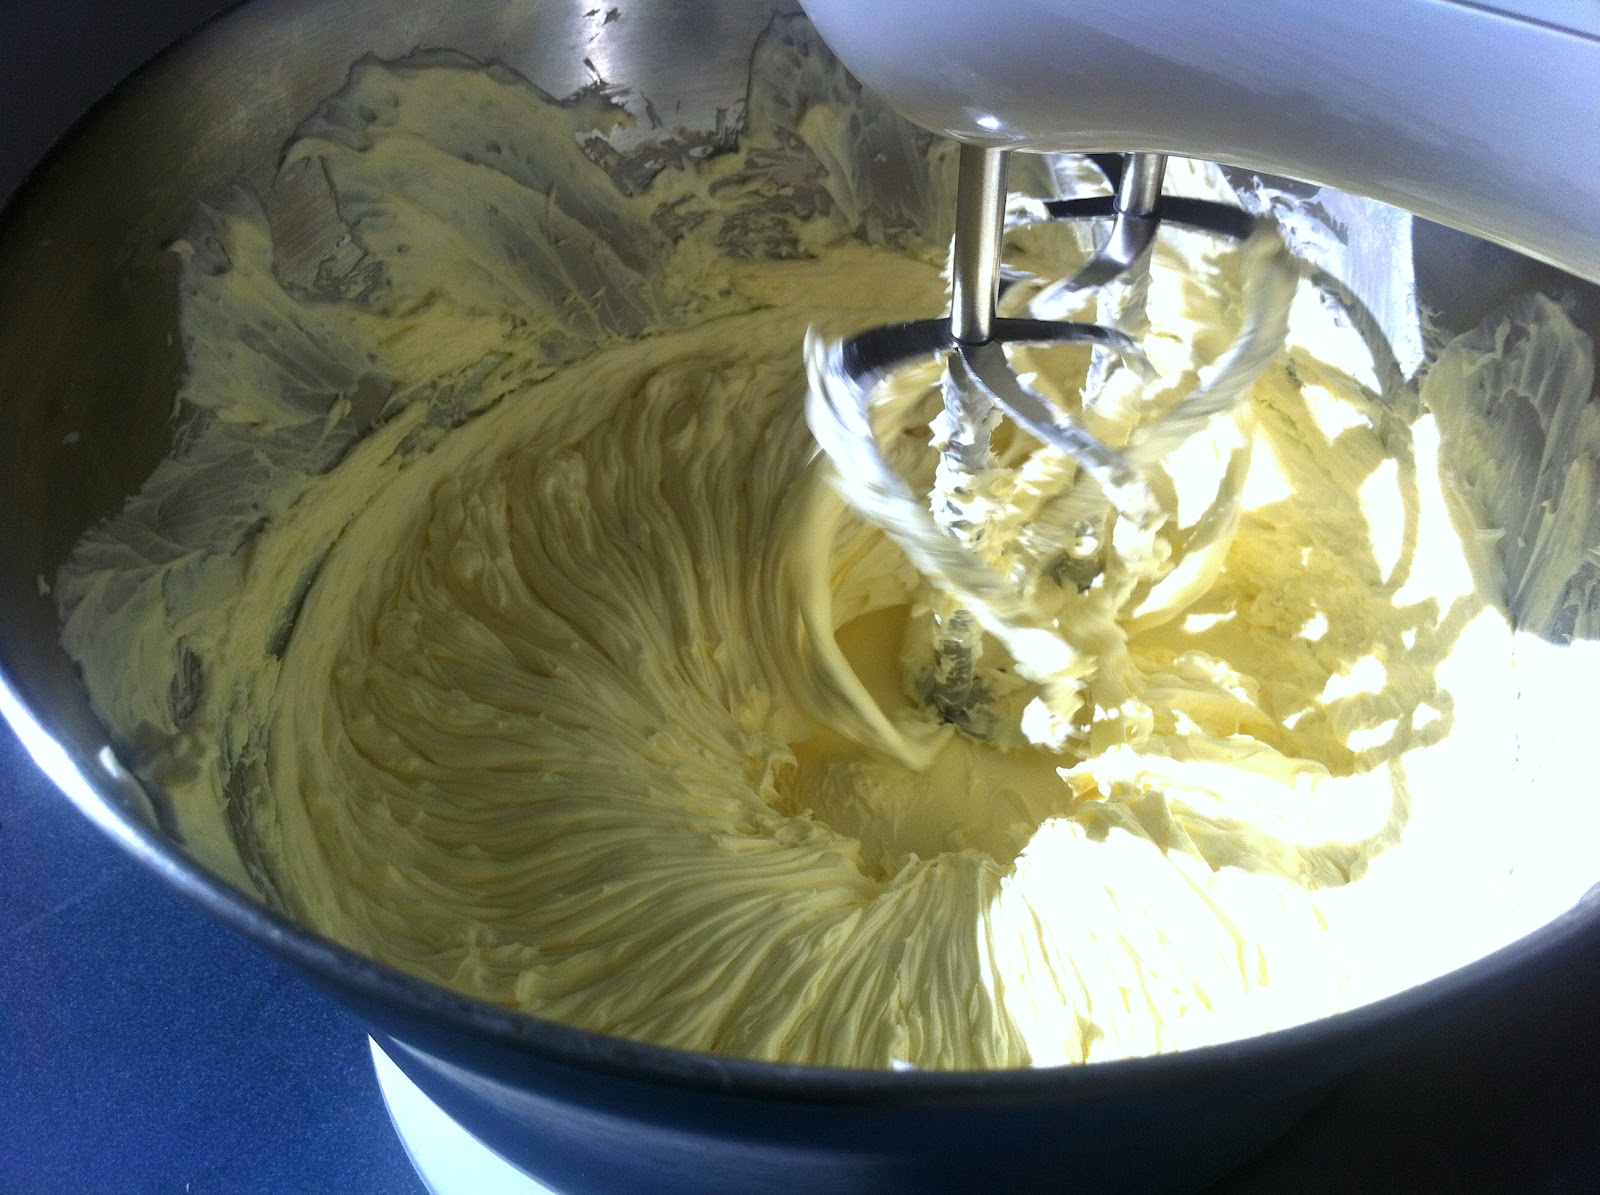
Then make the filling... you want to make sure your cream cheese is at room temperature as it makes it easier and smoother when blending.


Then you beat the creamcheese, sugar, flour and vanilla until smooth


Add the eggs


Then you need to separate out the mixture into two bowls, adding coffee to one and chocolate to the other


Pour into each of the mixtures into the base starting with the chocolate


Then cook on 160(c) for 60-65 mins.. then refrigerate overnight. 

And then you get to decorate it.. I added a chocolate glaze first and then the topping...


For the topping, remember to check out Good Life Eats for the directions


Mocha Chocolate Cheesecake recipe


Ingredients 
1.5 cups Oreo cookie crumbs
1/4 cup butter, melted

Filling
2 tablespoons plus 1.5 tsp instant coffee granules
1  tablespoons hot water
1/4 teaspoon ground cinnamon
680g cream cheese
1.5 cups sugar
1/4 cup all-purpose flour
2 teaspoons vanilla extract
4 eggs, lightly beaten
2 cups chocolate melts, melts and cooled

Glaze:
1/2 cup chocolate melts
3 tablespoons butter
coffee beans, chocolate-covered coffee beans, chocolate swirls... all optional

Directions

Place greased 9-inch springform pan on a double thickness of heavy-duty foil (about 18 inch square).  Securly wrap foil around pan.

In a small bowl, mix cookie crumbs and butter, press into the pan.

In antoher bowl, mix the coffee granules, hotwater and cinnaom - set aside.

In a large bowl, beat cream cheese, sugar, flour and vanilla until smooht. Add eggs, beat on low until jsut combined.

Divide batter in half.  Stir melted chocolate into one portion, pour over crust.  Stir coffee mixture into other half, spoon over chocolate layer.

Place the pan in another  large baking pan, add 1 inch of hot water to larger pan (the water bath).

Bake at 160 (c)  for 60-65 minutes, until centure is just set and top appears dull.  Reomve springform pan from water bath, remove foil.

Cool cheesecake on wire rack for 10 miutes. Loosen side from pran with a knife.  Cool for 1 hour longer and then refrigerate overnight.

Remove rim from pan.  If you want to glaze... melt chocolate and butter together and stir unitl smooth.  Spred over cheesecake and top however you desire!

Recipe adapted from Taste of home


Wednesday 15 August 2012

Cheers to Ranga!

This one's for you guys!


Well because I'm just too happy for my friends who have created and launched an alcoholic ginger beer  - Ranga, I thought... what better way to celebrate Saturday night drinks than to have it "Ranga Style".  Here are some photos taken by Hunter....


Too cute... ginger bread men :-)


Some other gingery snacks...

Gingernuts

Crystalised Ginger


Ginger crunch with pistachios and crystalised ginger sprinkled on top


Jaffas... okay so these aren't ginger but they're soooo good!


Some rashuns, burger rings, frankfurters, apricots, carrots, morrocan carrot dip,  and salmon bilinis... 


And the main attraction... Ranga!


And here are two of the creator's of Ranga back in 2006 when they lived with my husband and I... and this is where I believe the true inspiration for Ranga started.... with the adorable Toot of course!! haha xox  


Bought to you by... Splashes of Cuteness (me) and starring... Ranga


Thursday 9 August 2012

Mmmmm Cheesecake!!

Maple Syrup with Roasted Pears -  Cheesecake


If you've seen my recent facebook post you'll see that I have a new found love for cheesecakes! Growing up as a kid I was never too keen on cheesecakes, but I have recently discovered the true delicacies of this decadent dessert.

Last week I made a beautiful Pistachio-Honey baked cheesecake.  I added Pistachio Gelato and extra chopped pistachios to the top, soooo divine!  But today, I wanted to try a no-bake cheesecake.  I found this delicious recipe for "Maple Cheesecake with Roasted Pears". It was so dam good that I can't wait to make another one!

The recipe was very easy, I've added it below.

First thing to do is make the base, crush up some malt biscuits, add sugar and melted butter then press into your spring-form pan, and put it in the oven at 180 degrees (celsius) for approx 12 minutes.


Once the cheesecake crust is ready, put it aside to cool down.  In the mean time you can prepare the roasted pears.  Grab two Bosc Pears, slice length-wise, brush with Maple Syrup, place on baking paper, and roast on approx 230 degrees for about 20 minutes.  Then brush with more Maple syrup and grill for about 4 minutes turning frequently.


 Now for the cheesecake... very easy! Beat cream cheese on high until fluffy, add maple syrup and beat until smooth. In a separate bowl beat cream and sugar, then stir about one third of the cream mixture into the cream cheese and fold in the rest.  Pour into the base, and refrigerate for about 3 hours.


Arrange the pears on top before serving... and viola!! Your beautiful cheesecake!!


Recipes... 

Cheesecake:

Ingredients

2 packets of cream cheese (approx 500g), room temperature

  • 3/4 cup pure maple syrup
  • 1 cup cold heavy cream
  • 2 tablespoons caster' sugar
  • 1 Pie-Crust made in a 22cm springform pan with malt biscuits
  • Nonstick cooking spray
  • 2 medium pears, such as Bosc or Bartlett, sliced lengthwise

Directions


  1. In a large bowl, using an electric mixer, beat cream cheese on high until fluffy, about 3 minutes. Add 1/2 cup maple syrup; beat until smooth. In a medium bowl, beat cream and sugar on high until soft peaks form, about 3 minutes. With a rubber spatula, stir about one-third the whipped cream into cream cheese mixture, then fold in remainder. Transfer to crust and refrigerate until firm, 3 hours (or up to 1 day).
  1. Preheat oven to 230 degrees. Coat a parchment-lined rimmed baking sheet with cooking spray. Arrange pear slices in a single layer on sheet and brush with 2 tablespoons maple syrup. Roast until pears are soft, 20 minutes. Turn on the grill. Brush pears with 2 tablespoons maple syrup and grill for about 4 minutes, rotating sheet frequently. Let cool. To serve, arrange pear slices, overlapping slightly, on cheesecake.

Biscuit Base

Ingredients

  • 6 ounces cookies (about 12 graham crackers, 46 vanilla wafers, or 30 chocolate wafers, such as Famous)
  • 3 tablespoons sugar
  • 1/4 teaspoon coarse salt
  • 5 tablespoons unsalted butter, melted

Directions

  1. Preheat oven to 350 degrees. In a food processor, pulse cookies until finely ground (you should have about 1 1/2 cups). Add sugar, salt, and butter and pulse until combined.
  2. Firmly press crumb mixture into bottom and up sides of a 9-inch pie plate. (If using a springform pan, press crumbs halfway up sides.) Bake until crust is dry and set, about 12 minutes. Let cool completely in plate on a wire rack before filling.


Adapted from Martha Stewart